In the fourth part of our mini-series on building the SIM83-TS01 truck simulator, we focus on one of the most visible and important parts of the cab – the dashboard.
It all starts with cardboard. Yes, you read that right. The first step is to create a cardboard prototype to test the shape and functionality. Cardboard allows us to quickly adapt dimensions, placements, and openings for buttons, switches, and the display. Once we’re satisfied with the form and ergonomics, we transfer the prototype into a digital model.


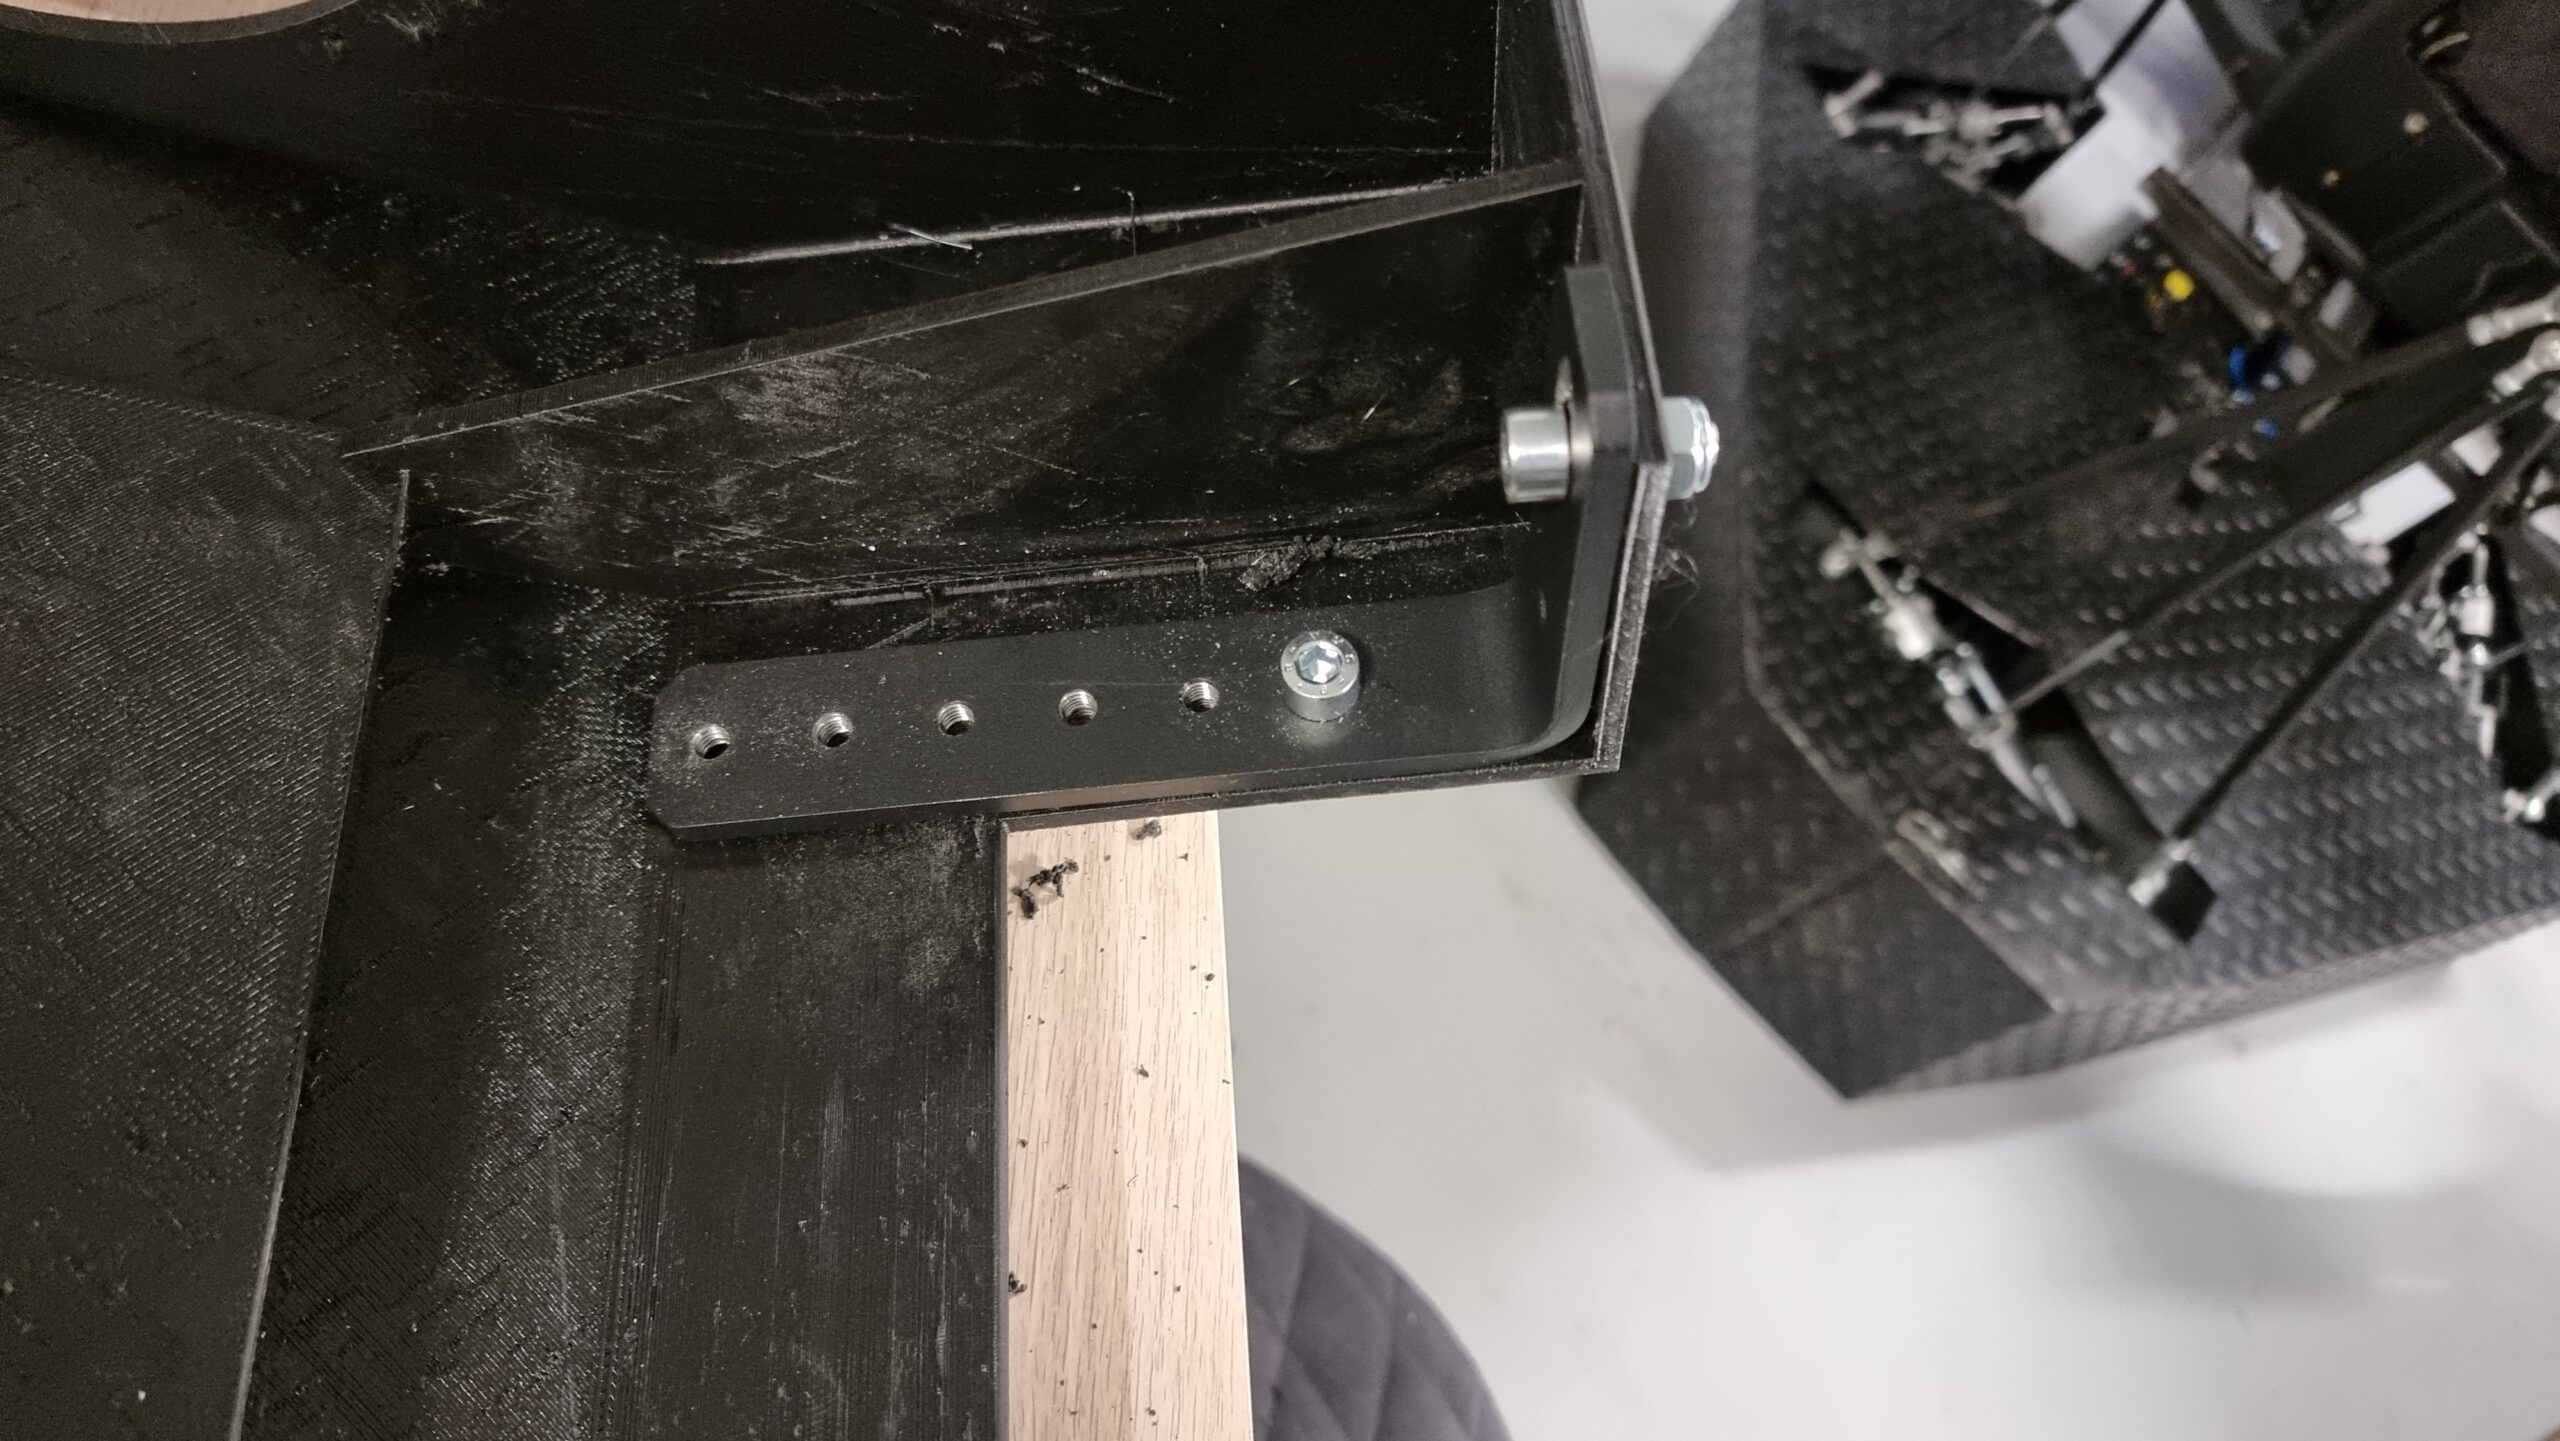
This digital model serves as the basis for a 3D-printed part, giving us a ready-to-install dashboard. While the final part is being printed or manufactured, we begin work on the mounting bracket that will connect the dashboard to the main simulator frame.

We use a metal profile for the bracket. First, we measure and mark the cutting lines and drill hole positions. After cutting, sanding, and painting, we have a sturdy support that will hold the dashboard even during intense simulator use.


Next, we drill the mounting holes – both for attaching the bracket to the frame and for securing the steering wheel base to the dashboard. After this, we assemble the components and do a quick test fit to confirm everything aligns perfectly.

Then comes the installation of the display, which functions as a digital gauge cluster. It shows speed, RPM, gear, fuel level, warning lights, and other vital driving data.

Finally, we install the speakers, which provide engine sounds, alerts, and other immersive audio effects. With that, the dashboard is complete and ready for the next stage of the build.

What comes next? Follow us to find out in the next part of the series.
GALLERY